Welcome to Hydropool.com
Looking for the best deals on pool supplies? Look no further than Hydropool.com! We feature an extensive selection of high-quality brand name pool chemicals, equipment, accessories, and maintenance products at competitive prices. With fast & free shipping, easy returns, and excellent customer service, we are the ultimate destination for pool owners and professionals alike. Shop now and enjoy a cleaner, healthier pool today!
Limited Time Deals
Grab these deals & promotions before they are gone!


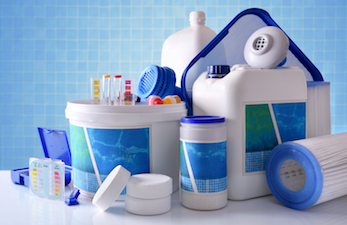
Explore Pool & Spa Supplies
Save on thousands of pool and spa products


Best Selling Pool Supplies
Premium brands without the premium price!


BioGuard Chlorine Stabilizer 100 - 5 lb - 3 Pack
$188.72
$131.97


Frog Bam 90-Day Algae Preventative 24 oz - 3 Pack
$170.99
$131.85


Best Selling Spa Supplies
All your spa essentials, in one place!


Outdoor Living
Explore great products for the backyard!!

Dunnrite Inflatable SUP - Turquoise Marbel
$1,164.99
$999.99

Dunnrite Paddle White on Black
$232.99
$199.99


Vivere Parachute Double Hammock - Storm Apple
$65.99
$54.99